How to Set Up a Professional iPhone Email Signature
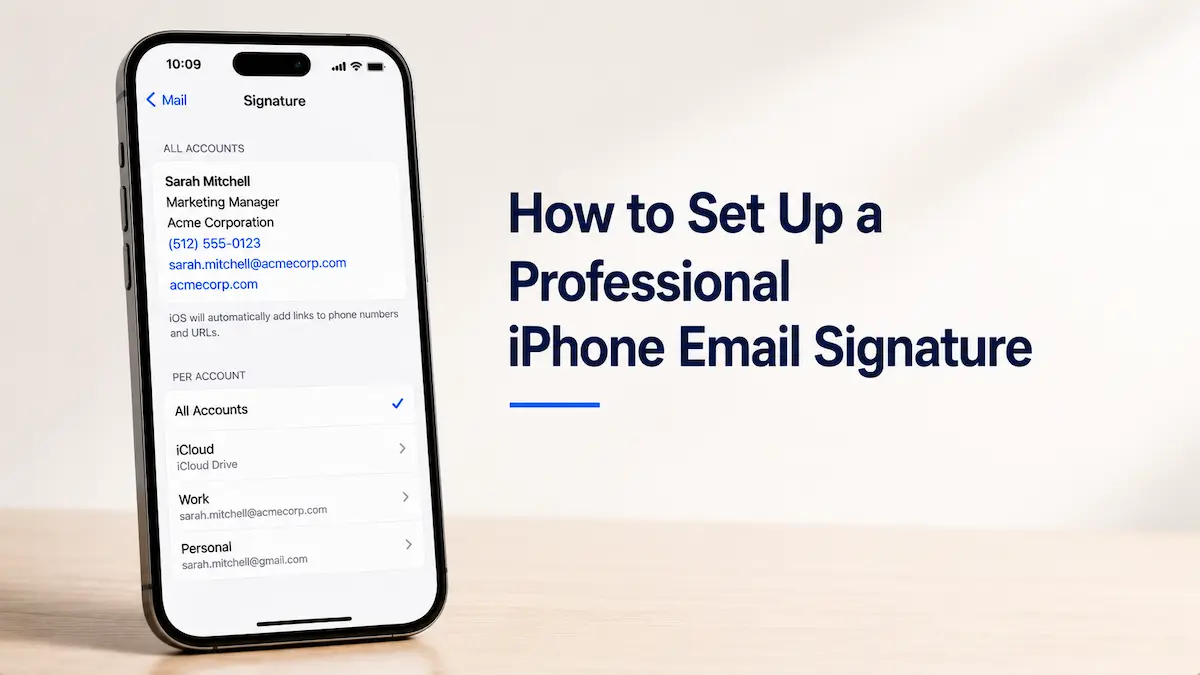
Every email sent from the Mail app on iPhone includes a signature by default: “Sent from my iPhone.” For casual conversations, that’s perfectly fine. For work email, though, most people prefer something that identifies who they are.
If you’re wondering how to add an email signature on iPhone, the answer is simpler than you might think. The setup only takes a few minutes. The exact time depends on whether you need simple text or an HTML version with clickable links and formatting.
In this guide, we’ll look at the different ways to set this up, explain the differences between available options, and cover the issues you may encounter when using an iPhone for work email.
Option 1: Plain Text Signature
If all you need is your name and contact information, this is the quickest solution.
- Open the Settings app
- Scroll down and tap Mail
- Tap Signature
- Delete the “Sent from my iPhone” text
- Type your signature
iOS automatically turns URLs and phone numbers into tappable links, so typing out your website and phone number is enough to make them work. What you won’t get is formatting, images, or styled text—just clean lines of information.
For many people, that’s all they need. The signature will look identical on every device the recipient uses.
Option 2: HTML Signature with Clickable Links
If you want formatting, a logo, or individually clickable links for different items, you’ll need to add an HTML signature. The process is slightly more involved.
Before you can install it on your iPhone, you’ll need to create the signature itself. You can build it manually if you’re comfortable with HTML, but most people simply use a signature generator, enter their contact details, and copy the finished result.
Step 1: Create your HTML signature on a desktop computer using an email signature generator. Make sure it looks correct in a browser before moving on.
Step 2: Open that signature in a browser or email client on your desktop and send it to yourself as an email.
Step 3: On your iPhone, open that email in the Mail app. Press and hold on a part of the text that isn’t a link, then tap Select All, then Copy.
Step 4: Go to Settings → Mail → Signature. Delete any existing text, then press and hold in the field and tap Paste.
Step 5: Close Settings and open a new email in Mail to confirm the signature appears correctly.
Why HTML Signatures Require a Workaround on iPhone
This confuses a lot of people. The Mail app can display and send an HTML signature, but the Signature field in Settings isn’t an HTML editor. If you paste HTML code directly into that field, you’ll just see the raw code in your emails—not the formatted result.
That’s why the workaround above works: instead of pasting code, you’re pasting an already-rendered version of the signature. The Mail app picks it up as formatted content and sends it that way.
It’s not the most intuitive setup, but it only needs to be done once.
Per Account Signatures
By default, iOS uses the same email signature for every account on your iPhone. If you use the same device for both work and personal email, you can set a different one for each account.
Go to Settings → Mail → Signature and switch from All Accounts to Per Account. You’ll then see a separate field for each configured email account. Your work account can use a professional version, while your personal account can use something simpler—or nothing at all.
“Sent from my iPhone”—Should You Keep It?
There was a time when “Sent from my iPhone” served a purpose. It explained short replies, excused typos, and signaled that a longer response was coming from a proper computer.
Today, most recipients assume emails may be written from a phone. A professional alternative provides far more value by identifying the sender and including contact details instead of reminding recipients which device was used.
What Your iPhone Email Signature Should Include
Although iPhone email signature examples vary by profession, most follow the same basic structure. Once installed on your iPhone, include the same information you’d use on any professional email: your name, title, company, phone number, email address, and website.
Example 1:
Sarah Mitchell
Marketing Manager
Acme Corporation
(512) 555-0123
sarah.mitchell@acmecorp.com
acmecorp.com
Example 2:
Jennifer Lee
Senior Executive Assistant
Global Finance Partners
(213) 555-2341
jennifer.lee@globalfinance.com
globalfinance.com
That’s enough. Anything beyond that starts working against the signature rather than for it.
Common Problems with iPhone Email Signatures
A few issues come up often enough that they’re worth knowing about before you run into them.
HTML formatting changes after pasting. The Settings field sometimes strips or alters formatting when you paste. If the formatting doesn’t look right, send yourself a fresh copy and repeat the process.
Extra blank lines appear. This is common when copying from certain email clients. Tap into the Signature field in Settings and manually delete any extra lines before saving.
Fonts look different. iOS may substitute fonts that aren’t supported by the Mail app. Stick to standard web-safe fonts (Arial, Helvetica, Georgia, or Times New Roman) when creating the original HTML—those render consistently.
Signature doesn’t appear in replies. By default, iOS Mail adds it to new messages, but not always to replies. Go to Settings → Mail and check the Signature setting.
Links stop working after an update. iOS updates occasionally affect how signatures render. If clickable links stop working after an update, repeat the HTML paste process using a fresh copy.
Can You Add Images or Logos?
Technically yes. But there are real trade-offs.
Most images are hosted on external servers and loaded when the recipient opens the email. Many email clients, including Outlook and corporate email environments, block external images by default. When that happens, your logo doesn’t appear—the recipient sees a blank space or a broken image icon instead.
For most professionals, a clean HTML text signature is the more reliable choice. It loads instantly, displays correctly across email clients, and doesn’t depend on external resources.
Does iPhone Signature Sync with Gmail or Outlook?
This catches a lot of people off guard.
Gmail and iPhone Mail signatures are completely separate. If you update it in Gmail on a desktop browser, that change has no effect on what appears in Apple Mail on your iPhone—and vice versa.
The same is true for Outlook. The Outlook mobile app manages its own signature independently from both Apple Mail and the desktop version of Outlook. Changing one doesn’t change the others.
Here’s how it breaks down:
- Apple Mail on iPhone → configured in Settings → Mail → Signature
- Gmail app on iPhone → configured in Settings → [your account] → Signature
- Outlook app on iPhone → configured in Settings → [your account] → Signature
If you use multiple email apps on your iPhone, you’ll need to set it separately in each one. That’s the main reason many people end up with different signatures across different apps without realizing why.
Final Thoughts
Replacing “Sent from my iPhone” with a proper iPhone email signature takes just a few minutes.
The simplest path: create your signature on desktop, then follow Option 2 above to install it on your iPhone. After that, every email you send automatically includes a consistent signature, so you don’t have to type or copy your contact details every time. It won’t need attention again unless your contact information changes.
It’s a simple improvement that saves time and helps you make a more professional impression.